Open the dialog Add New SGX Enclave by selecting Software Guard Extensions Tools → Add SGX Enclave from the contextual menu.
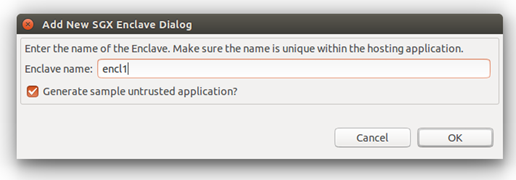
Add New Intel® SGX Enclave Dialog
Choose a name for the enclave in Enclave name field. This name is used in the process of generation of the skeleton to give unicity to the source files and the name of the resulting executable, so you can add more than one enclave to the same project.
-
If you do not select the Generate sample untrusted application checkbox, the plugin generates only a trusted file and a Makefile fragment to build and compile the trusted part. See the following graphic. All the code for the enclave, including build Makefile, is put in a directory
<root>/sgx/enclave_<name>. C/C++ code for the enclave proper are in<root>/sgx/enclave_<name>/trusted.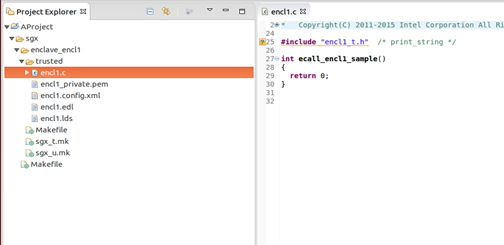
Generated Skeleton for an Enclave. The option to Generate Sample was not Used
-
If you select Generate sample untrusted application checkbox, a simple ready to work sample application is generated, including untrusted stubs and implementation for a sample OCALL and ECALL.
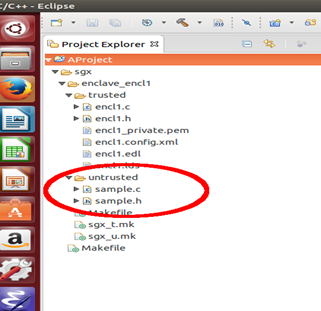
Generated Sample Untrusted Application